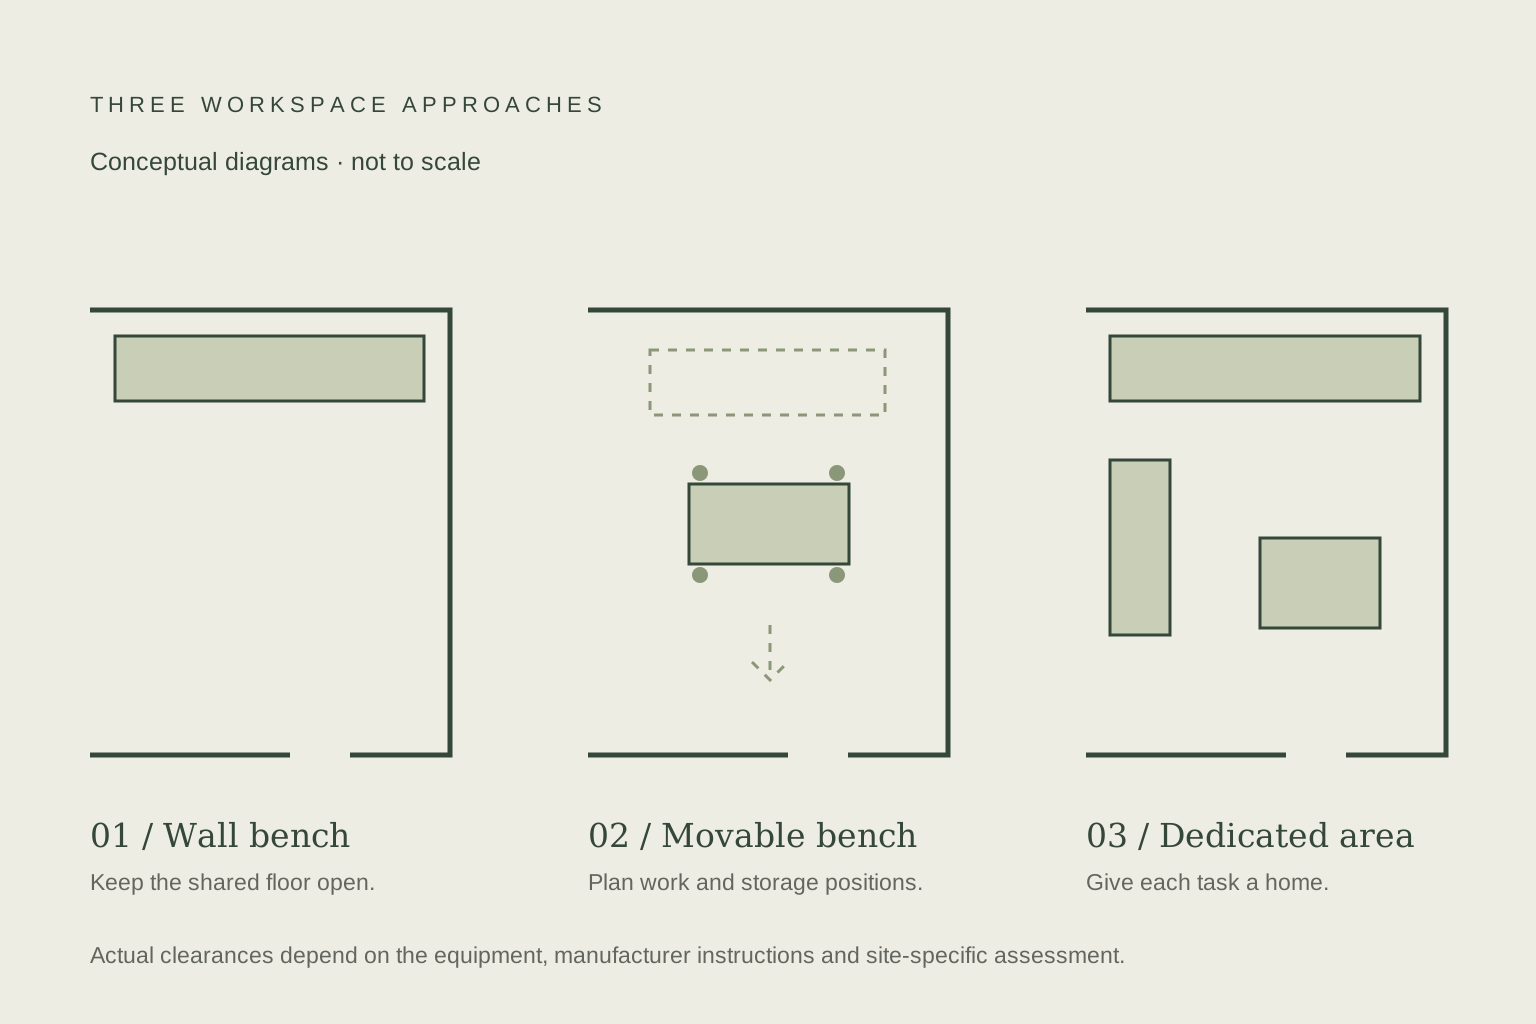

Start with what the room has to do
A garage often carries several jobs at once: parking, sports storage, household overflow and the occasional project. The most useful organization plan begins by choosing which of those jobs comes first. If parking is non-negotiable, draw the car footprint before you draw a workbench. If you need access to a freezer every day, give it an accessible position before filling the wall beside it.
Write down three real uses for the room. Then name one thing it does not need to do. That last decision keeps an attractive inspiration image from becoming a shopping list for a room you cannot actually use.
Take a simple room inventory
Measure the room in feet and inches, including the width of the entry, ceiling height and any steps. Mark doors, windows, utility equipment and fixed shelving. Photograph each wall and make a rough sketch; a polished drawing is unnecessary.
Measure the actual vehicle with its doors open, rather than relying on a standard car rectangle. Walk the route from the house door to frequently used items. Keep that route in the plan. Equipment access, exits and garage-door movement must remain clear; check the relevant manuals before locating storage nearby.
Sort by frequency, not by appearance
Make four groups: used weekly, used seasonally, project materials and items to remove. Put weekly items where you can reach them without rearranging the room. Seasonal items can occupy less convenient locations, provided the shelf or system is designed for the load.
Keep a short inventory on the outside of opaque bins. Labels such as “camping / stove and lantern” are more useful than “miscellaneous.” Keep chemicals in their labeled containers and follow their storage instructions. Household shelving is not a substitute for storage appropriate to hazardous materials.
Give each activity an address
A shared garage works better when related items have a clear home. A sports zone could use a single shelf and a basket; a garden zone could put hand tools near the outside door. A project zone might begin with a small surface that can be cleared after use.
Before buying a wall system, draw the items it will hold. Check installation requirements, wall structure and rated capacity. Heavy storage and anything above occupied space deserve particular care. A clean floor is valuable, but moving everything overhead is not automatically the right solution.
Make the workshop decision separately
Storing tools and operating a woodworking shop are different uses. A tidy tool cabinet may be all you need for small household tasks. If you intend to cut, sand or run machinery, plan for the operating footprint, manufacturer-required clearances, dust control, appropriate electrical service and separation from household living areas.
Try the small-workshop layout guide before committing to a permanent bench. Consult qualified professionals for electrical changes and technical safety questions. A beautiful room photograph does not establish that a workshop is safe.
Reset one zone this weekend
Choose one wall or shelf. Remove its contents, decide what belongs there and put back only that group. Use the existing containers for a week before buying replacements. This reveals whether the arrangement works without turning the reset into a renovation.
Once a month, return items to their zones and remove anything that has migrated into the walking route. Organization succeeds when the room is easy to maintain on an ordinary day—not only when it is ready for a photograph.
Planning notes & sources
For equipment clearances and technical setup, follow manufacturer instructions and the requirements for your own home.
OSHA: Woodworking hazards and solutions